Save the snail- with partial die-cutting!

Hello, this is Kassi. Welcome to the LDRS Creative blog!
Sometimes when you are working with larger stamps, they just don't quite fit in the shaped dies used to create panels.. But that's ok! There is a really easy fix for this that not only solves the problem, it looks fabulous!

Let's take a look at what I'm talking about.. See that snail... It doesn't fit inside the die-cut oval.. So either you can chop him in half (NOOOO!) or you can use this simple trick to do some partial die cutting! Ready to get started?
LDRS Creative Shopping List-
Story Time stamp
Raven hybrid ink
Daisy Delights 6x6 paper
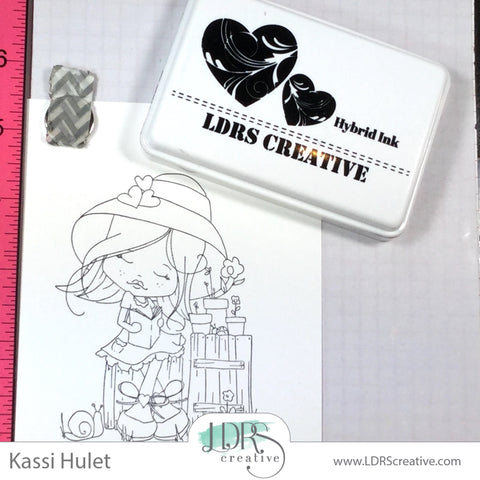
First we are going to stamp our image.... I'm using Raven Hybrid ink. This ink is a great DARK black ink that handles detail beautifully!

Then color.... using whatever your favorite coloring mediums may be. The LDRS Creative Hybrid inks give you the freedom to used whatever!

Next we need to mark what doesn't fit... So lay your die over your stamped image just how you want it to die-cut... then lightly make little marks with a pencil on the INSIDE of your die to indicate where your image starts and stops going past the edge... So for this stamp, I'm marking the top of the snail shell where it starts crossing under the edge of the die, and the bottom of the snail where comes back through and is finished crossing the die..

Now make little slits in your paper going from the edge of your paper to the marks you just made. This will make a little tab with the snail on it.

You can then slide your die back into place with the tab going OVER the back of your die. Run it through your die-cut machine like this.
When you pull it out of your die-cut machine, it should look something like this... a little weird, but hey, the snail is still there!

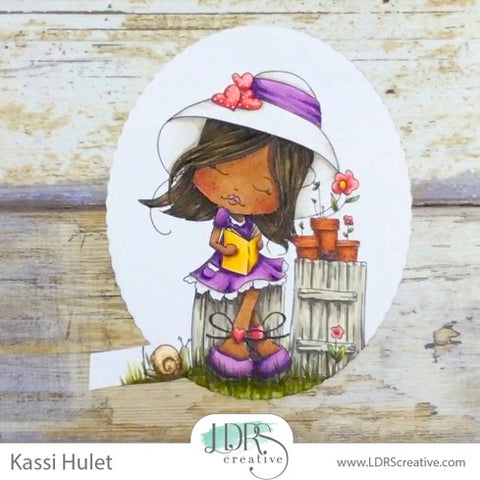
To finish it off, do a little fussy cutting around the snail. Now it looks intentional and awesome!
Look how fun it looks on the finished card! I love this paper from the Daisy Delights pack, don't you?

And for an extra little touch, try adding a couple rhinestones or sequins to your card... they may blend into the pattern paper, but when they catch the light, they make it pop!
Now it's your turn! If you give this technique a try using LDRS Creative products, we'd love to see! Share with us in the Facebook group! (the group is also a great place to ask questions!!)
If you are looking for more inspiration, be sure to check us out on Instagram, YouTube, and Pinterest!
And check back here tomorrow for another incredible project!
See you soon!


Adorable! Awesome job on the coloring and the die cutting.
Leave a comment