Tutti Frutti Impress-ion Dies All Occasion Card
Hello friends, Kathy here today and I am going to show the versatility of the latest release from LDRS Creative. Today's card features some of the newest Impress-ion Dies. They can be used with letter press plates and hot foil systems! Today I am showing you the versatility of the Impress-ion Dies using both systems.This card features a couple of different ways to use them. I hope you enjoy them!

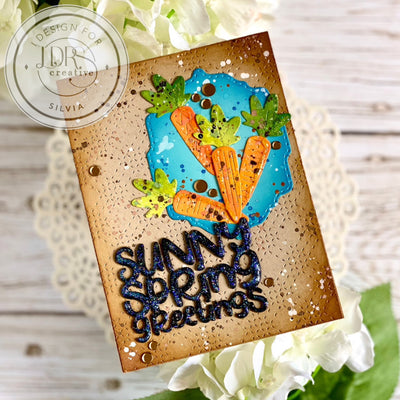
Let's cut the card panels first! I cut a top folding A2 card base. I then used the A2 Diagonal Stitched Card Topper Frames and cut a panel from the Watercolor Paper Pack. I cut a black frame with my paper trimmer 1/4" larger than the stitched panel. For the honeycomb panel I used the retired 6x6 One Fine Day Paper Pad. I cut this to 4.25" x 5.5".

Using the new Tutti Frutti Impress-ion Dies and the Better Press plates I placed the die in different locations, and using Raven Hybrid Ink, I ran it through my die-cutting machine 4 separate times with the letter press plates. Make sure you tape your double-stitched panel to the Better Press plate and align your Impress-ion die each time.
I also used it a fifth time on another piece of watercolor paper. I water colored the single lemon image and die-cut it with the coordinating die.

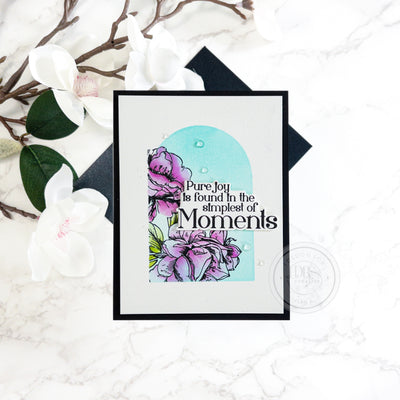
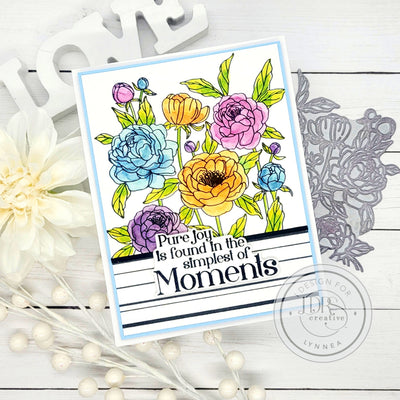
Let's talk about the sentiment. The Love & Friendship Impress-ion Dies are filled with sentiments for any occasion and a great one to have in your stash.
Previously, I had hot foiled the sentiment "We didn’t realize we were making memories. We just thought we were having fun" for a previous card. I had the negative foil left over. I added some double-sided adhesive to the negative foil and added it to a small piece of smooth card stock. I then trimmed it down to a square approximately 2" x 2". While the square appears black, trust me it is a shiny gold sentiment square.

Now let's assemble. Glue the patterned paper to the card base. Glue the Letter Pressed panel to your black panel. Add some foam tape to the back and add to the card base. Determine the location for your main focal point die-cut. Add some foam tape to the die-cut and align it to your Impress-ion panel. So, with the Impress-ion Dies you can do so many things. Today we letter-pressed with the dies for a background, we created a letter pressed focal point and colored it and we hot foiled one of the Love & Friendship Impress-ion dies!
I love the versatility you get from one product, and these are beautiful dies perfect for all your occasion cards. Thanks for stopping by today. I appreciate all of you and thanks for stopping by the LDRS Blog today! Now head here New Release from LDRS Creative to see all of the new Impress-ion Dies LDRS Creative has!


Leave a comment