Gone to Maui beach scene
Hi everyone ! Lounon here !

Today, I am sharing with you a card I made with the new LDRS Gone to Maui exclusive kit which is now in preorder.
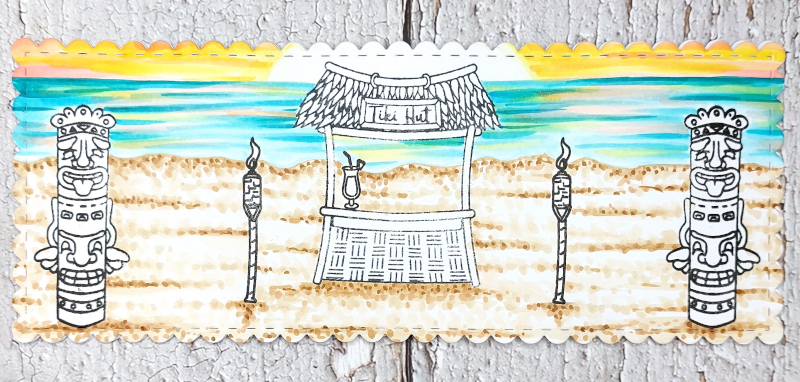
For the occasion I decided to make a beach scene with my markers to go with this adorable stamp set ! And I will show you, step by step, how to make a background for this set. You will see, it's not complicated !

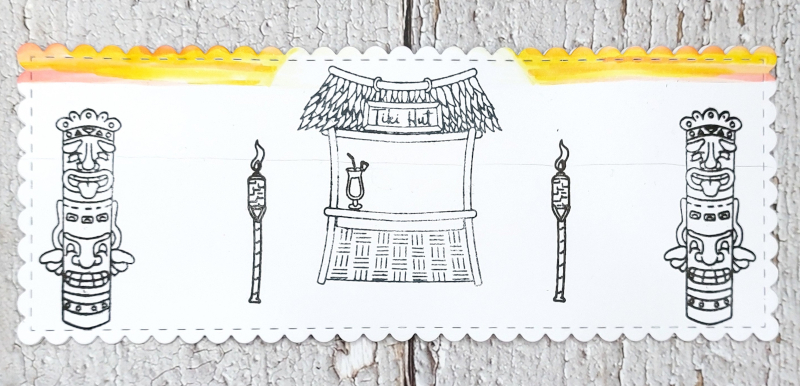
First, I used my scalloped die from the Floral Scallop Slimline Dies into friendly markers cardstock and stamped all my elements with my LDRS Raven inkpad. Then, I traced two lines with a pencil to delimit the sky, the sea and the sand. You will erase them gradually as your coloring goes by.
After that I colored my sky. I drew the shape of the sun with a very pale yellow. You want to leave the inside blank. I just softened the edges with my lightest yellow (you can also use a blender). For the rest of the sky I mixed warm colors. I flicked the brush of my markers horizontally ( in this scene always color horizontally : the sky, the sea, the sand) and blended my colors. You don't want a smooth blend, it looks more natural (clouds , light etc...) with textures.
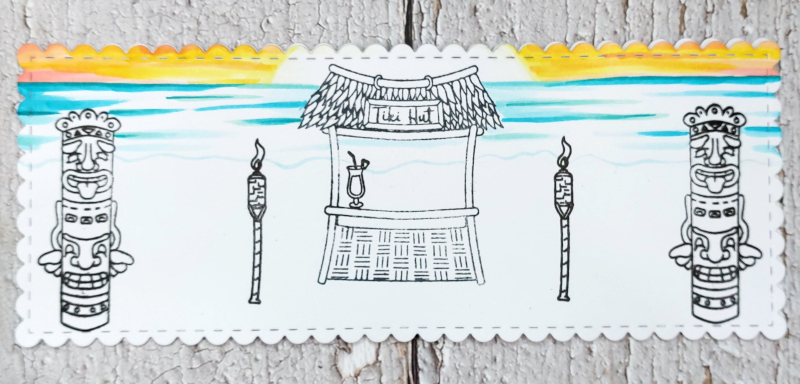
Then, I colored the sea. I chose turquoise blues because I had a tropical sea in mind. I started with the darker colors and I extended them with lighter ones.

I kept filling the space with even lighter colors. You don't want to fill all the space. I left white in the highlights.
Finally, I added the reflection of my sky on the water. I used the same lighter colors than for the sky.

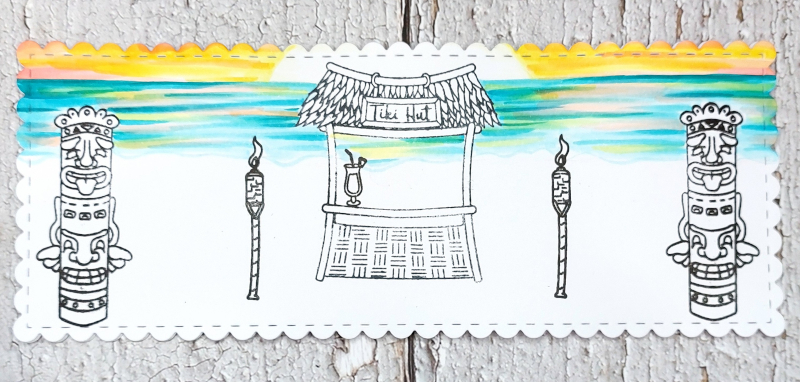
Now, for the sand, I proceeded in three steps. First, I added the shadows and blended them roughly with lighter shades of the brown color I chose. It will be the base of your sand.
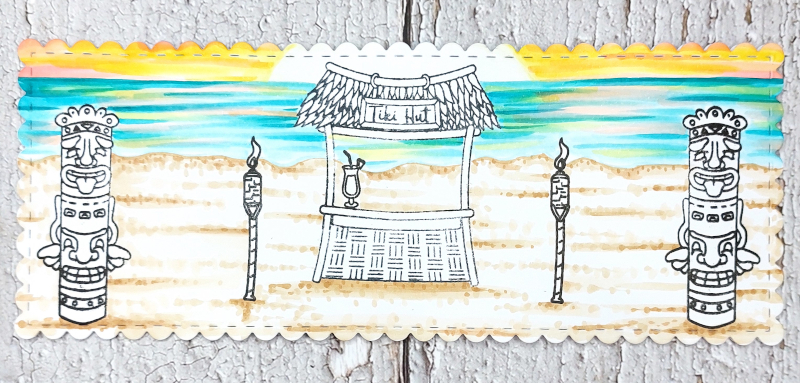
Then, I added textures. You just have to make (a lot) of dots. Use the base you just made to help you : dark dots in the shadows... On the picture above you can see the result after one round.
I always make a second round to have a better finish. And this time I used a little of a darker shade to add extra depth.

Finally, I added some reflections of the sky on the sand, and I added foam with my white gel pen where the sea meets the sand. You just have to draw some curls with it. Et voilà ! A simple background perfect for this stamp set !
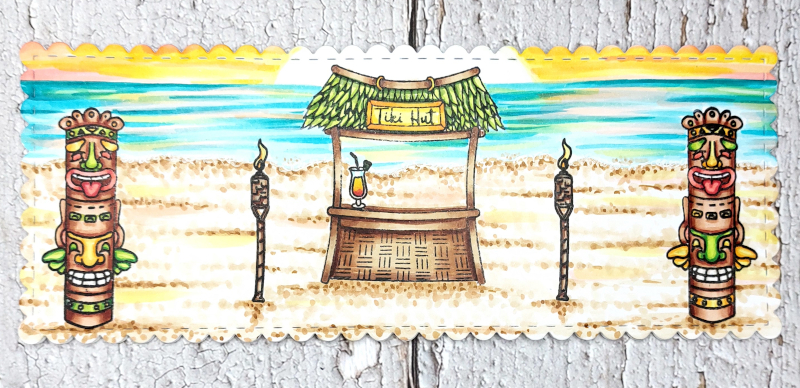
After that, I colored the elements I stamped. I kept my coloring simple because the stamps are already very detailed. For the stand I added a little depth to avoid having a floating glass !

Finally, I stamped our three little cuties and colored them. I fussy cut them and added them on my scene with foam pads. For the koala I used warm grey colors, for the chameleon a bright green blend, and for the flamingo I used salmon/pink colors. I colored their outfits with colors I already used in my scene ( green, yellow and red).
I also framed my scene with a bigger orange cardstock.
Et voilà !
May the craft be with you !


Leave a comment