Floral Mother's Day Card Tutorial
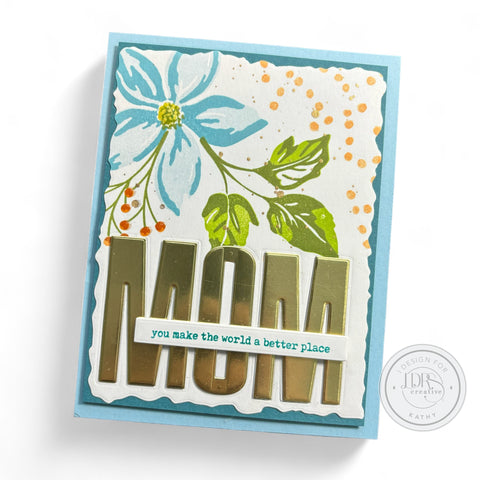
Good morning, I am up on the LDRS Creative blog today making a Mother’s Day card using the latest release from LDRS Creative. I wanted a simple card that looked elegant. This card was easy to create. It came together very quickly. I hope you enjoy it.

Market Blooms Layered Stamps
Hand Torn Rectangle dies
Jordan Alpha Jumbo Uppercase Letter dies
Simply Sentiments
Sentiment Stack Die 2
Tangerine Twist Hybrid Ink
Lantern Yellow Hybrid Ink
Tropical Sea Hybrid Ink (for sentiment)
Marina Madness Hybrid Ink
Little Boy Blue Hybrid Ink
Hand Torn Rectangle dies
Jordan Alpha Jumbo Uppercase Letter dies
Simply Sentiments
Sentiment Stack Die 2
Tangerine Twist Hybrid Ink
Lantern Yellow Hybrid Ink
Tropical Sea Hybrid Ink (for sentiment)
Marina Madness Hybrid Ink
Little Boy Blue Hybrid Ink
To create this card, cut 2 pieces of coordinating colored card stock to 4 1/4“ x 5 1/2“. Cut another piece from white card stock.
Use the Market Blooms layering stamps to create your image. I have listed the inks I used above.
Use the middle-sized hand, torn rectangle die, and cut the stamped panel. Once you have cut this place it over one of the colored card stock pieces and trim the colored card stock just slightly larger.
Next, I used the letter dies and cut the word MOM from the stamped panels. TIP-cut the letters from a thin piece of card stock. Then align these on the stamped panel using low tack tape. Place the dies over the letters and cut.
Once all the letters are cut, glue the panel to the colored card stock.
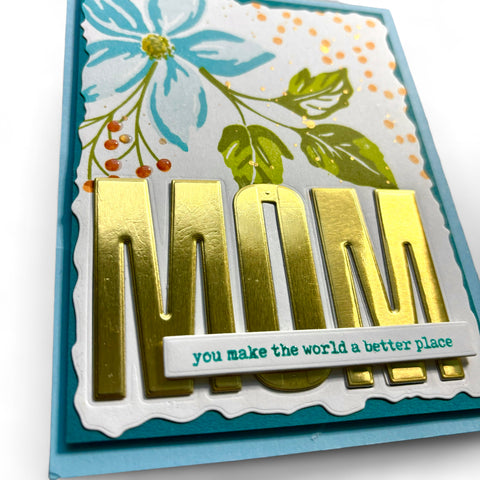
Next, I cut each letter 3x from white and once from the gold card stock. Glue the letters together and allow to dry. Once dry, glue the letters into the openings.

For the sentiment, I stamped it and then covered it with clear embossing powder. I heat set it next. I then die-cut it using the stack die two. This cut several sentiment strips at once. I used some of the additional strips to adhere back to the back of my sentiment for dimension. Then I added this on top of the word MOM with liquid glue.
I used gold watercolor paint to splatter the stamped image. I also added a bit of Glossy Accents to the center of the flower.
That’s it the card is complete once you glue it to a top folding A2 card base.
Thanks for stopping by today and reading through this card tutorial. If you wish to purchase any of these products, I would appreciate it if you use any of the links above. They provide a small commission to me at no cost to you.
Have an amazing crafty day and I will be back soon with another card tutorial.


Leave a comment